Dead Hang: Benefits, How Long to Hang, Progression
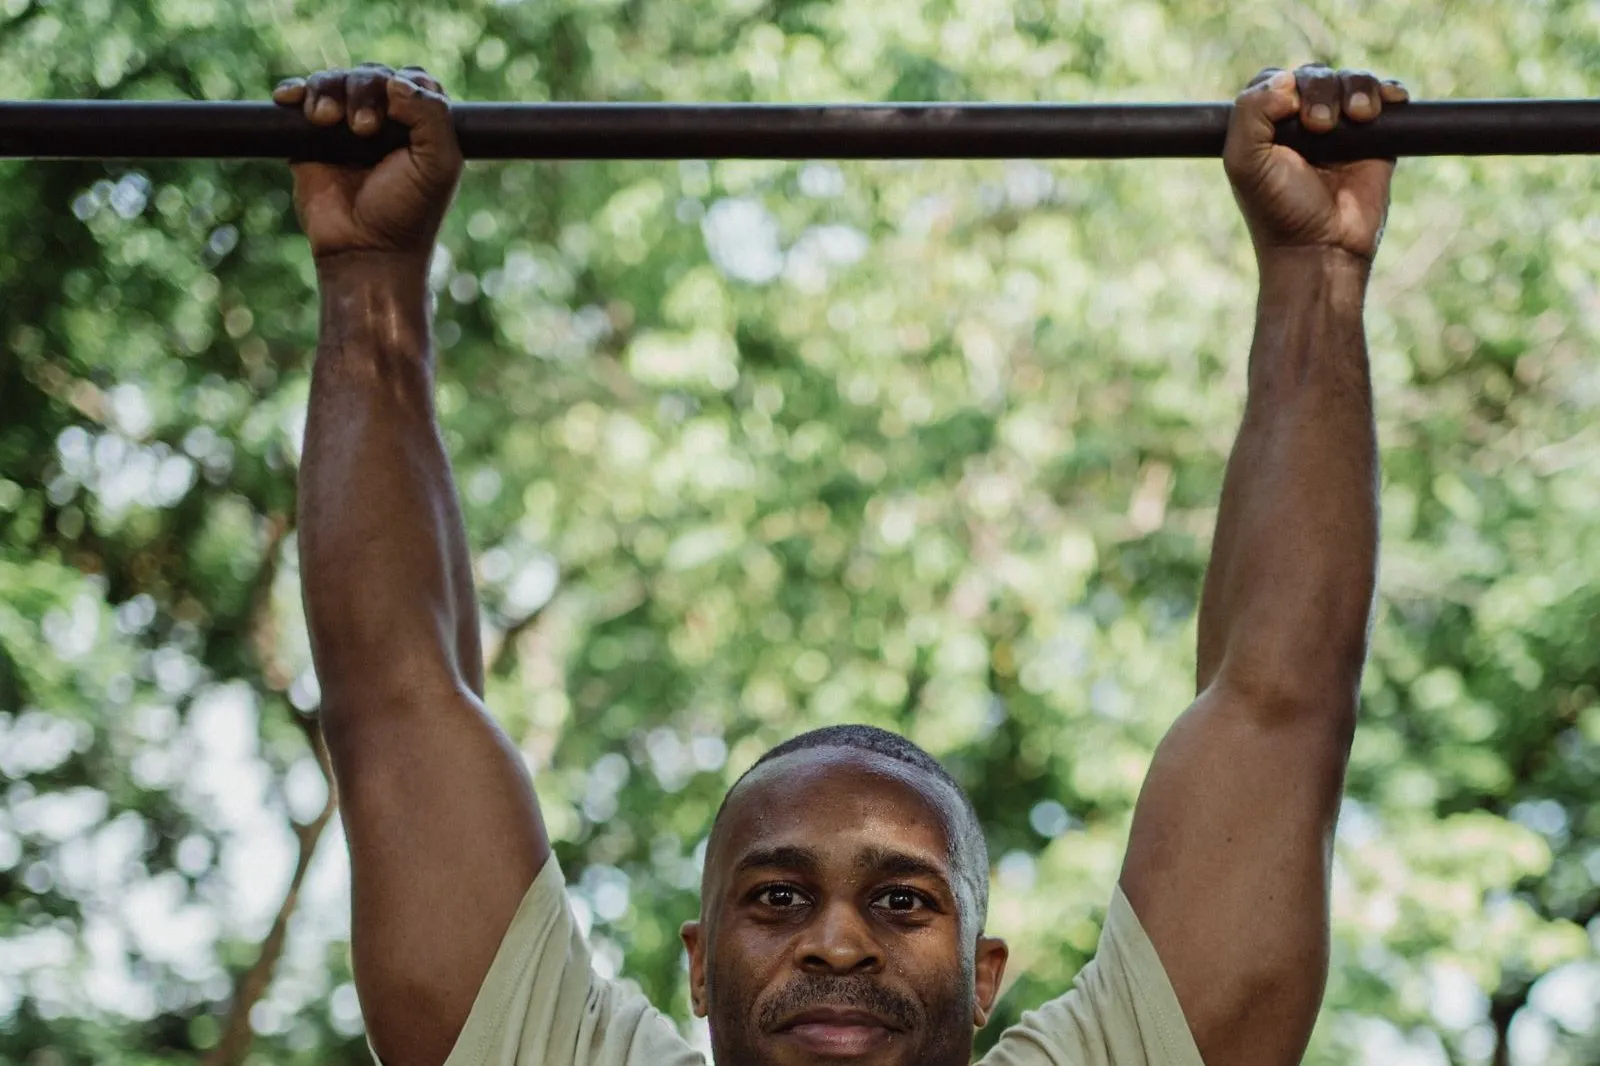
How to do a dead hang with good form, what it really does for grip, shoulders and spine, how long you should hang by level, and a 6-week plan to hang longer.
The dead hang is the simplest exercise in calisthenics: grab a bar, let your feet leave the floor, hold on. It’s also one of the most useful. It builds the grip every pulling exercise depends on, gets your shoulders used to working overhead, and gives you a clear number to beat every week.
The short answer: to do a dead hang, grab a pull-up bar with an overhand grip a little wider than your shoulders, lift your feet and hang with straight arms and a slightly braced core. Breathe normally and hold for as long as you can with good form. Thirty seconds is a solid beginner goal, sixty seconds a good level, ninety seconds and beyond is advanced. Do two to four hangs, two or three times a week, and add a few seconds each session.
Below: the exact form, the difference between passive and active hangs, what the research does and doesn’t support, how long you should hang at your level and a six-week plan to get there. If you’d like those hangs to fit into a full program, Titan Mode builds your weekly plan around your level and your equipment, and logs every set so you can see your hang time go up.
What is a dead hang?
A dead hang is a static hold from an overhead bar with straight arms and your feet off the floor. “Dead” refers to the starting position: no swing, no bent elbows, just you hanging under the bar. It’s the bottom position of a pull-up, held still.
You can hang from almost anything that safely takes your weight: a doorway pull-up bar, a bar in a street workout park, gymnastic rings, a sturdy playground frame. Our street workout guide for beginners explains how to find and use an outdoor park if you don’t have a bar at home.
Passive hang vs active hang
There are two ways to hang, and you should learn both.
- Passive hang: you relax your shoulders and let them rise toward your ears. Your body weight pulls your arms fully overhead. This is the version that stretches the shoulders, chest and lats the most.
- Active hang: from the passive hang, you pull your shoulders down and slightly back, away from your ears, without bending your elbows. Your body rises by a few centimetres. This is the position every pull-up starts from, and it trains the lower trapezius and the lats.
Moving between the two, slowly, is called a scapular pull (or scap pull-up). It’s one of the best exercises you can do before your first pull-up, and it’s covered in detail in our guide to your first pull-up.
A simple rule: use passive hangs for the stretch and for easy days, active hangs when you’re building strength for pull-ups and other skills.
How to do a dead hang with good form
- Set up under the bar. Use a box or a step if you can’t reach it from the floor. Never jump to a bar you’re not sure about.
- Grip. Hands slightly wider than your shoulders, palms facing away. Wrap your thumbs around the bar: a full grip is safer and stronger than a thumbless one.
- Step off gently. Lower your weight onto your arms gradually rather than dropping into the hang.
- Arms straight, body still. Legs together and slightly in front of you, glutes and abs lightly braced. This “hollow-ish” shape stops you swinging.
- Breathe. Slow breaths through the nose if you can. Holding your breath shortens the hang and raises your blood pressure for nothing.
- Come down before you fall. Step back onto the box when your grip starts to open, rather than letting go at the last second.
Grip variations
- Overhand (pronated): the standard, and the one used to compare hang times.
- Underhand (supinated): usually a bit easier, puts more stretch through the biceps. It’s the chin-up grip; see chin-ups vs pull-ups for how it changes the pull.
- Neutral (palms facing each other): often the most comfortable for sore shoulders or elbows.
- Towel or thick bar: much harder for the grip, a good progression once you pass 60 seconds. Our guide to grip strength exercises adds carries, wrist work and a full six-week plan.
- Rings: let your wrists rotate freely, which many people find kinder to their shoulders. They are also where you’ll later learn skin the cat and the back lever, for which a solid dead hang is a prerequisite.
Muscles worked
The dead hang looks passive, but a lot is working:
- Forearm and finger flexors: they hold the bar and are almost always what gives out first.
- Lats, teres major and rotator cuff: they stabilise the shoulder under load. In the active hang, the lats and lower trapezius also pull the shoulders down.
- Core: it keeps your body still and stops you swinging.
- Stretch: the passive hang lengthens the lats, chest and the tissues around the shoulder, in a position many people never reach in daily life.
This mix is why hanging is a foundation for every pulling skill, from the pull-up to the muscle-up and the front lever.
Dead hang benefits: what the evidence supports
Plenty of claims circulate about hanging. Here’s what holds up.
Grip strength and endurance: yes
This is the clearest benefit. Hanging trains your grip directly, and you’ll usually see your hang time rise within a few weeks. Grip matters beyond the pull-up bar: in a large international study following about 140,000 adults, lower grip strength was associated with a higher risk of death from all causes and from cardiovascular disease (Leong et al., 2015), and grip strength is widely used as a marker of overall health in older adults (Bohannon, 2019).
One honest caveat: these studies show an association, measured with a hand dynamometer. They don’t prove that training your grip makes you live longer. A stronger grip is best seen as a sign of a body that stays strong and active, not as a goal in itself.
Shoulder mobility and comfort overhead: likely, for many people
Hanging takes your arms fully overhead under gentle load, a position most people rarely use. Many people find that regular, easy hangs make overhead movements feel better. Tendons and the tissues around joints do adapt to progressive loading (Magnusson and Kjaer, 2019), but there are no good trials on hanging for shoulder conditions. If you have a diagnosed shoulder problem, ask your physiotherapist whether hanging suits you.
Spinal decompression: short-lived
Hanging does put a gentle pull on the spine, and many people find it relieving after a day sitting down. But a Cochrane review of traction for low back pain found little or no lasting effect on pain or function (Wegner et al., 2013). Enjoy the stretch; don’t expect hanging to treat back pain.
A gateway to pull-ups: yes
You can’t do a pull-up without holding the bar for the length of a set. A beginner who can’t hang for 20 seconds usually lacks the grip and shoulder control for negatives and full reps. That’s why the dead hang is the first test in our pull-up progression and in our 12-week beginner calisthenics program.
How long should you dead hang?
There’s no official standard for hang time. These benchmarks are practical training targets for an overhand dead hang, not medical norms:
| Level | Overhand dead hang | What it usually means |
|---|---|---|
| Starting out | Under 20 seconds | Build grip with short, repeated hangs |
| Beginner | 20–40 seconds | Ready for scapular pulls and rows |
| Intermediate | 40–75 seconds | Grip is rarely the limit for pull-ups |
| Advanced | 75–120 seconds | Ready for towel, one-arm-assisted or weighted hangs |
| Very advanced | 2 minutes or more | Grip endurance well above what most training needs |
Bodyweight matters: a heavier person hangs more load, so compare yourself with your own previous numbers rather than with someone else’s. Past two minutes, adding difficulty (thicker grip, a towel, a weight vest) is a better use of time than hanging even longer.
A 6-week dead hang plan
Train hangs two or three times a week, on non-consecutive days, at the start of your session or after your warm-up. Rest 90 seconds to 2 minutes between hangs. That frequency fits standard guidance for novices in resistance training (ACSM, 2009).
First, test your max overhand hang. Then use the plan that matches your result.
Under 20 seconds: build it in pieces
| Week | Session |
|---|---|
| 1–2 | 5 hangs of 8–10 s, stopping well before your grip fails |
| 3–4 | 4 hangs of 12–15 s |
| 5–6 | 3 hangs of 20 s, then retest your max |
Short hangs repeated several times add up to more time on the bar than one shaky maximum effort. If your feet need to stay lightly on a box at first, that’s fine: put less weight through them each week.
20 to 60 seconds: extend the hold
| Week | Session |
|---|---|
| 1–2 | 3 hangs at about 70% of your max + 2 × 6–8 scapular pulls |
| 3–4 | 3 hangs at about 80% of your max + 3 × 8 scapular pulls |
| 5–6 | 2 hangs at about 90% of your max + 1 active hang as long as possible, then retest |
Over 60 seconds: make it harder, not just longer
- Towel hangs: loop a towel over the bar and grip both ends, 3 × 15–30 s.
- Mixed or offset hangs: one hand higher or lower, shift more weight to one arm.
- Weighted hangs: a backpack or weight vest, 3 × 20–30 s.
- One-arm assisted hangs: one hand on the bar, the other holding a band or a towel lower down.
Log the duration of every hang. A hang time that rises week after week is one of the clearest early signs that your training works. Rather than tracking seconds in your notes app, you can follow a plan in Titan Mode that schedules your hangs, rows and pull-up work and records each set.
Where dead hangs fit in a workout
- Warm-up: one or two easy passive hangs of 15–30 seconds to open the shoulders before pulling work.
- Skill and strength block: active hangs and scapular pulls before pull-ups, when you’re fresh.
- Finisher: one max hang at the end of a pull session to train grip endurance.
- Core work on the bar: once you can hang for 30 seconds with active shoulders, you can turn the hang into an ab exercise with hanging leg raises.
- Easy days: a few relaxed hangs during the day if you sit a lot and enjoy the stretch.
Pair hangs with horizontal pulling. The inverted row builds the back strength your hang can’t, and the two together are the base of the road to your first pull-up.
Common mistakes
- Shrugging all the way up without control. In a passive hang it’s fine to let the shoulders rise, but you should still feel tension, not a joint hanging on its ligaments.
- Bent elbows. That’s a flexed-arm hang, a different exercise. Keep the arms straight.
- Swinging. Squeeze your legs together and brace lightly to stay still.
- Holding your breath. Breathe slowly through the whole hang.
- Going to failure every time. Most sets should stop a few seconds before your grip opens. Save true max hangs for test days.
- Thumbless grip. It feels natural to some people but makes slipping more likely. Wrap your thumbs.
Safety and limits
- Check your bar. Doorway bars must be rated for your weight and fitted on a solid frame. Test with your feet still on the box before you trust it fully.
- Ease in. Hanging loads the fingers, elbows and shoulders. Increase time gradually, especially if you’re new to training or returning after a break.
- Stop with sharp pain, numbness or tingling in the hands or arms. Mild forearm burn is normal; pain in a joint is not.
- Shoulder conditions. If you’ve had a dislocation, have very loose (hypermobile) shoulders or a current shoulder injury, ask a physiotherapist first. Active hangs are often better tolerated than fully passive ones.
- Blood pressure and pregnancy. Long hangs while holding your breath raise blood pressure. If you have high blood pressure, heart disease or are pregnant, check with your doctor before adding long hangs.
Track the number, not the feeling
Grip gains come quickly, so the dead hang is a great motivator in your first weeks. Test your max every two to three weeks, train below it the rest of the time, and you’ll usually see the number climb. When 30 seconds feels easy, move on to scapular pulls and rows; when 60 seconds feels easy, start working on pull-up negatives. And if you’re curious how fast the rest of your body changes, our guide to how long calisthenics results take puts realistic timelines on strength, skills and muscle.
This article is general information, not medical advice. If you have a medical condition, an injury, pain or are pregnant, talk to a health professional before changing your training or diet.
FAQ
How long should I be able to dead hang?
There is no official standard. As a practical guide, 30 seconds is a solid beginner goal, 60 seconds is a good level for most adults who train, and 90 to 120 seconds is advanced. If you can't hang for 10 seconds yet, start with several short hangs and add a few seconds each session.
What muscles does the dead hang work?
Mainly the forearm and finger flexors, which hold the bar. The lats, the shoulder muscles, the rotator cuff and the core also work to keep you stable, and the shoulders and chest get a stretch overhead. An active hang, with the shoulders pulled down, adds the lower trapezius and lats.
Do dead hangs decompress your spine?
Hanging puts a gentle pull on the spine and many people find it relieving, but the effect is short-lived. A Cochrane review found that traction for low back pain has little or no lasting effect on pain or function. Treat hanging as a pleasant stretch, not as a treatment for back pain.
Can I do dead hangs every day?
Short, easy hangs on most days are fine for many people, as long as your hands, elbows and shoulders feel good. Hangs to complete grip failure are harder to recover from: keep those to two or three sessions a week, with a rest day in between.
Will dead hangs help me do a pull-up?
Yes, as a first step. You need to hold the bar before you can pull on it, and the active hang teaches the shoulder-blade movement that starts every pull-up. But hanging alone won't get you a pull-up: you also need rows, scapular pulls and negatives.
Should I use straps or chalk for dead hangs?
Chalk, yes, if your hands sweat: it lets you test your grip rather than the slipperiness of the bar. Straps defeat the purpose if your goal is grip strength, but they can be useful if you only want the shoulder stretch and your grip gives out first.
Sources
- Leong D.P. et al. (2015). Prognostic value of grip strength: findings from the Prospective Urban Rural Epidemiology (PURE) study. The Lancet.
- Bohannon R.W. (2019). Grip strength: an indispensable biomarker for older adults. Clin Interv Aging.
- Wegner I. et al. (2013). Traction for low-back pain with or without sciatica. Cochrane Database Syst Rev.
- Magnusson S.P., Kjaer M. (2019). The impact of loading, unloading, ageing and injury on the human tendon. J Physiol.
- American College of Sports Medicine (2009). Progression models in resistance training for healthy adults. Med Sci Sports Exerc.