L-Sit Progression: How to Do an L-Sit, Step by Step
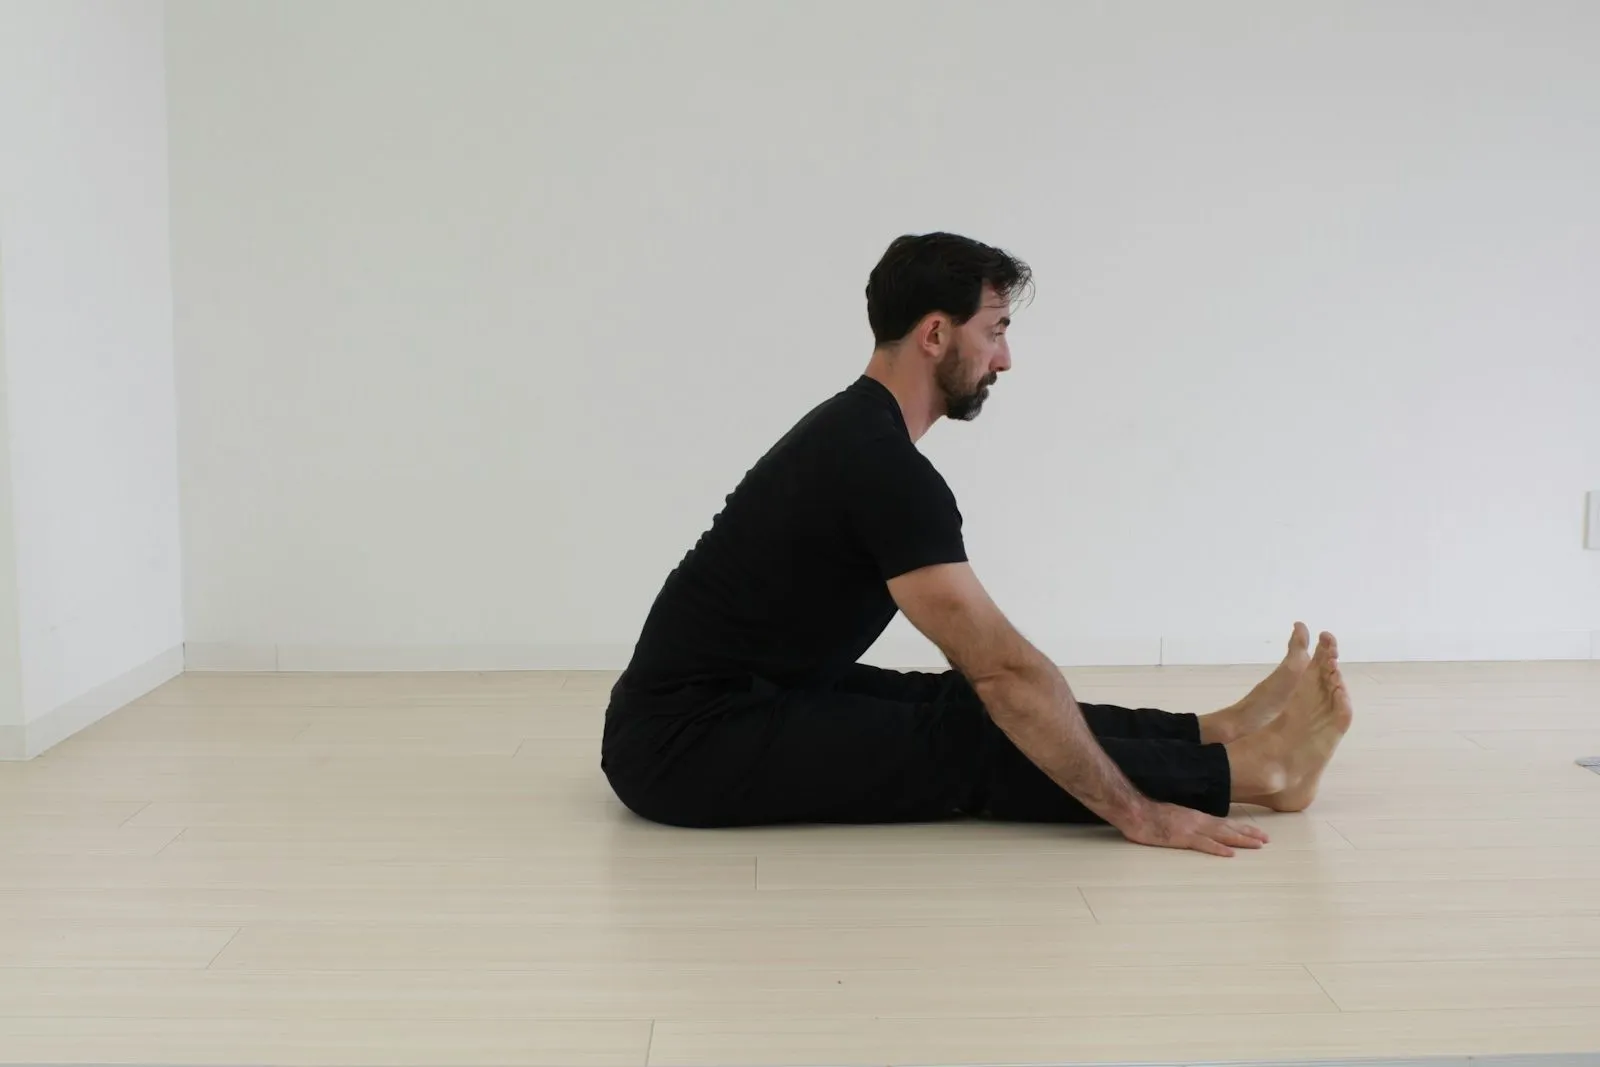
How to do an L-sit: the muscles it works, the prerequisites, a step-by-step progression from support hold to full L-sit, a weekly plan and the common mistakes.
The L-sit looks like an ab exercise. It’s really three exercises at once: a shoulder press that keeps your body off the floor, a leg raise that holds your legs straight in the air, and a flexibility test for the back of your legs. That’s why people with visible abs often can’t hold it for a second, and why it rewards patient, structured practice.
The short answer: to do an L-sit, place your hands beside your hips on the floor, parallettes or dip bars, press down until your arms are straight and your shoulders are pushed away from your ears, then lift your legs straight out in front of you, level with the floor, toes pointed. Build up through support holds, tuck L-sits, one-leg L-sits and foot-supported L-sits before the full version. A clean 10-second hold is a solid first goal.
The progression below takes you there step by step, with clear criteria for moving on. If you’d rather not track holds and sets yourself, Titan Mode builds your plan around your goal and equipment, guides each set and logs your reps and holds so you know when to move up.
What is an L-sit?
An L-sit is a static hold where your body forms an L: torso upright, legs straight and parallel to the floor, the whole body supported on straight arms. It’s a staple of gymnastics and calisthenics, and it shows up in our guide to street workout for beginners as one of the first skills people chase.
You can do it in three places, from easiest to hardest:
- Parallel bars or dip bars: plenty of room for your heels, neutral wrists.
- Parallettes or two sturdy chairs/boxes: a few centimetres of clearance.
- The floor: no clearance at all, so you must lift your hips and legs higher. This is the hardest version.
Start on bars or parallettes. Move to the floor once you own the hold elsewhere.
Muscles worked
The L-sit trains more than your abs:
- Hip flexors and quadriceps: they hold your straight legs up. In most beginners, these are the first to give out (and to cramp).
- Abdominals: they keep your pelvis from tipping backward and your lower back from rounding too much. Core researcher Stuart McGill describes the core’s main job as stiffening the trunk to transfer force, which is exactly what the L-sit asks for.
- Triceps: they keep your elbows locked.
- Lats, lower trapezius and serratus anterior: they push your shoulders down and slightly forward (shoulder “depression”), which lifts your body off the support.
This mix is why the L-sit carries over to other skills: the shoulder depression is the same one you need at the top of a dip and in the front lever, and the compression helps with the handstand press later on.
Prerequisites: test yourself first
Before working on the L-sit itself, check these three things. Each one points to a different weak link.
| Test | Target | If you fall short |
|---|---|---|
| Support hold on parallel bars (straight arms, shoulders down) | 30 seconds | Work on support holds and dips |
| Seated forward fold, legs straight | Fingertips past your toes, or close | Add daily hamstring stretching |
| Seated leg lifts (sitting, hands beside knees, lift one straight leg) | 10 reps per leg | Train compression with leg lifts and tuck holds |
You don’t need perfect scores to start the progression, but the weakest of the three tells you where to spend extra time.
The L-sit progression, step by step
Work each step for 3 to 5 sets, resting about 60 to 90 seconds between sets. Move on when you meet the exit criterion with clean form on two sessions in a row.
Step 1: Support hold
On parallel bars, dip bars or parallettes, press up to straight arms. Lock your elbows, push the bars away so your shoulders drop away from your ears, and hold. Your feet can rest lightly behind you or hang.
Exit criterion: 3 × 30 seconds with locked elbows and shoulders down.
Step 2: Foot-supported L-sit
Sit on the floor between parallettes (or two stable chairs), legs straight, heels on the floor. Press down to lift your hips off the floor while your heels stay down. Most of the weight goes through your hands.
Exit criterion: 3 × 20 seconds, hips clearly off the floor, arms straight.
Step 3: Tuck L-sit
From the support position, pull your knees up to your chest and hold. Your hips should be level with your hands or slightly in front of them. This is the version most people can hold first, and the one to spend time on.
Exit criterion: 3 × 20 seconds with knees at chest height and shoulders down.
Step 4: Advanced tuck (knees extended away from the chest)
Same as the tuck, but push your knees away from your chest so your thighs are parallel to the floor and your shins hang down. Your hip flexors now do more work.
Exit criterion: 3 × 15 seconds.
Step 5: One-leg L-sit
From the advanced tuck, straighten one leg in front of you while the other stays tucked. Alternate legs between sets. This is where hamstring flexibility starts to matter.
Exit criterion: 3 × 10 seconds per leg.
Step 6: Full L-sit
Both legs straight, together, level with the floor, toes pointed, knees locked. Your legs will drop at first. Hold short, clean sets rather than one long, sagging hold.
First goal: 3 × 5 to 10 seconds. Then build toward 20 to 30 seconds.
A useful trick for steps 5 and 6: if you can hold 5 seconds but not 10, do 5 or 6 sets of 5 seconds. Accumulated clean time builds the position faster than one shaky max hold.
Accessory exercises that make the L-sit come faster
Add two of these at the end of your sessions, depending on your weak link:
- Seated leg lifts (for compression): sitting, hands on the floor beside your knees, lift both straight legs a few centimetres and hold 1 to 2 seconds. 3 × 8 to 12.
- Pike stretch (for hamstrings): seated, legs straight, fold forward gently, 3 × 30 to 45 seconds. Hamstring flexibility often unlocks the full L-sit more than extra ab work.
- Hanging knee raises, then hanging leg raises (for hip flexors and abs): 3 × 8 to 12, slow and controlled. See our beginner calisthenics program for where they fit.
- Hollow body hold (for the abs): 3 × 20 to 40 seconds. Our calisthenics abs workout shows how to combine these into one short core routine.
- Dips (for the triceps and shoulder depression): 3 sets of controlled reps.
A weekly plan for the L-sit
Three sessions a week, after your warm-up and before your main strength work, takes about 10 to 15 minutes:
| Day | L-sit work | Accessory |
|---|---|---|
| Day 1 | 4–5 sets of your current step | Seated leg lifts, pike stretch |
| Day 2 | 4–5 sets of your current step | Hanging knee or leg raises, pike stretch |
| Day 3 | 3 sets of your current step + 1–2 sets of the next step | Hollow body hold, pike stretch |
Train the L-sit fresh, early in the session. Holds done at the end of a hard workout are usually shorter and sloppier. And log every hold in seconds: progress in static skills is slow enough that you won’t notice it without numbers. If you want that done for you, Titan Mode guides each session set by set with a rest timer and keeps your log, so you can see your numbers go up week after week.
How fast will it come? It depends on your starting strength, your flexibility and how often you practise. The tuck L-sit often comes within a few weeks; the full L-sit can take several months. Our article on how long it takes to see calisthenics results explains why skills progress in jumps rather than in a straight line.
Common mistakes
- Bent elbows. Soft elbows shift the load off your shoulders and make the hold look easier than it is. Lock them from the start.
- Shrugged shoulders. If your shoulders creep up toward your ears, you’re hanging on your joints. Push the support away, actively.
- Leaning back too far. A little lean is normal, but leaning far back to lift the legs turns it into a different exercise. Keep your hips under or slightly in front of your hands.
- Bent knees in the “full” L-sit. A straight-knee one-leg L-sit is worth more than a bent-knee full one. Go back a step rather than bending the knees.
- Skipping the hamstrings. If your legs drop no matter how hard you squeeze, flexibility is likely the limit, not strength.
- Only doing max holds. One all-out hold per session builds little. Several clean, shorter sets build more.
Safety and limits
The L-sit is safe for most healthy adults when you build up gradually, but a few points matter:
- Wrists: on the floor, the L-sit loads your wrists in extension. Warm them up, and use parallettes or dip bars if they’re sensitive. Tendons and connective tissue adapt more slowly than muscles, so increase your volume gradually, as the ACSM’s resistance-training guidelines recommend.
- Hip flexor cramps are common in the first weeks. Stop the set, stretch gently and continue. They usually fade as the muscles adapt.
- Lower back: if you feel pain in your lower back (not just effort in your abs), go back to the tuck and focus on keeping your pelvis tucked under.
- Health conditions: if you have a wrist, shoulder or hip injury, or a health condition, check with a doctor or physiotherapist before starting.
Where the L-sit fits in your training
The L-sit pairs well with the rest of a calisthenics routine. It builds the same shoulder position as dips, the compression you’ll need for the handstand press later on (see our handstand guide for beginners), and the trunk stiffness that helps on the muscle-up and front lever. Strong compression also keeps the knees tight in a tuck planche, which is why the L-sit sits among the drills of our planche progression. You don’t need a dedicated “skill day”: 10 to 15 minutes, three times a week, is enough.
Make your progress measurable
Static skills reward patience, and patience is easier when you can see the numbers move. Titan Mode builds your plan from your goal, the days you can really train and the equipment you have (parallettes, dip bars, rings or just the floor), guides each session with demos and a rest timer, and logs your sets. Weekly check-ins compare where you started with where you are now, so a 3-second tuck hold turning into a 10-second L-sit doesn’t go unnoticed.
This article is general information, not medical advice. If you have a medical condition, an injury, pain or are pregnant, talk to a health professional before changing your training or diet.
FAQ
What muscles does the L-sit work?
The L-sit works the hip flexors and the quadriceps (which hold the legs up), the abdominals (which keep the pelvis from tipping back), and the triceps, lats, lower trapezius and serratus anterior (which keep you pressed up off the floor). It is as much a shoulder and arm exercise as an ab exercise.
Why can't I do an L-sit even with strong abs?
Usually because the limit is elsewhere: tight hamstrings that pull the legs down, weak hip flexors that can't lift straight legs at that angle, or shoulders that can't keep you pressed up. The progression in this guide trains each of these separately.
How long does it take to learn the L-sit?
It varies a lot. Someone who already has solid dips and flexible hamstrings may hold a few seconds of full L-sit within a few weeks of practice. Someone starting from zero, with tight hamstrings, often needs several months. The tuck L-sit usually comes much sooner than the full version.
How long should I hold an L-sit?
A clean 10-second full L-sit is a solid first goal. 20 to 30 seconds is a strong intermediate level, and 60 seconds is advanced. Short, clean holds across several sets build the position faster than one long, shaky hold.
Is the L-sit easier on the floor or on parallettes?
On parallettes or dip bars. The extra height gives your heels room and lets your wrists stay neutral. The floor L-sit is harder because you must lift your hips and legs higher with less clearance, which takes more compression strength and hamstring flexibility.
Can I train the L-sit every day?
Short practice (a few holds) on most days is fine for many people, but hard sets to failure every day can irritate the wrists and hip flexors. Three to four focused sessions a week, with lighter practice in between if you want, is a safer default.
Sources
- McGill S. (2010). Core training: evidence translating to better performance and injury prevention. Strength Cond J.
- American College of Sports Medicine (2009). Progression models in resistance training for healthy adults. Med Sci Sports Exerc.
- Magnusson S.P., Kjaer M. (2019). The impact of loading, unloading, ageing and injury on the human tendon. J Physiol.
- Bull F.C. et al. (2020). World Health Organization 2020 guidelines on physical activity and sedentary behaviour. Br J Sports Med.