Calisthenics Equipment Guide: Pull-Up Bar, Rings, Bands
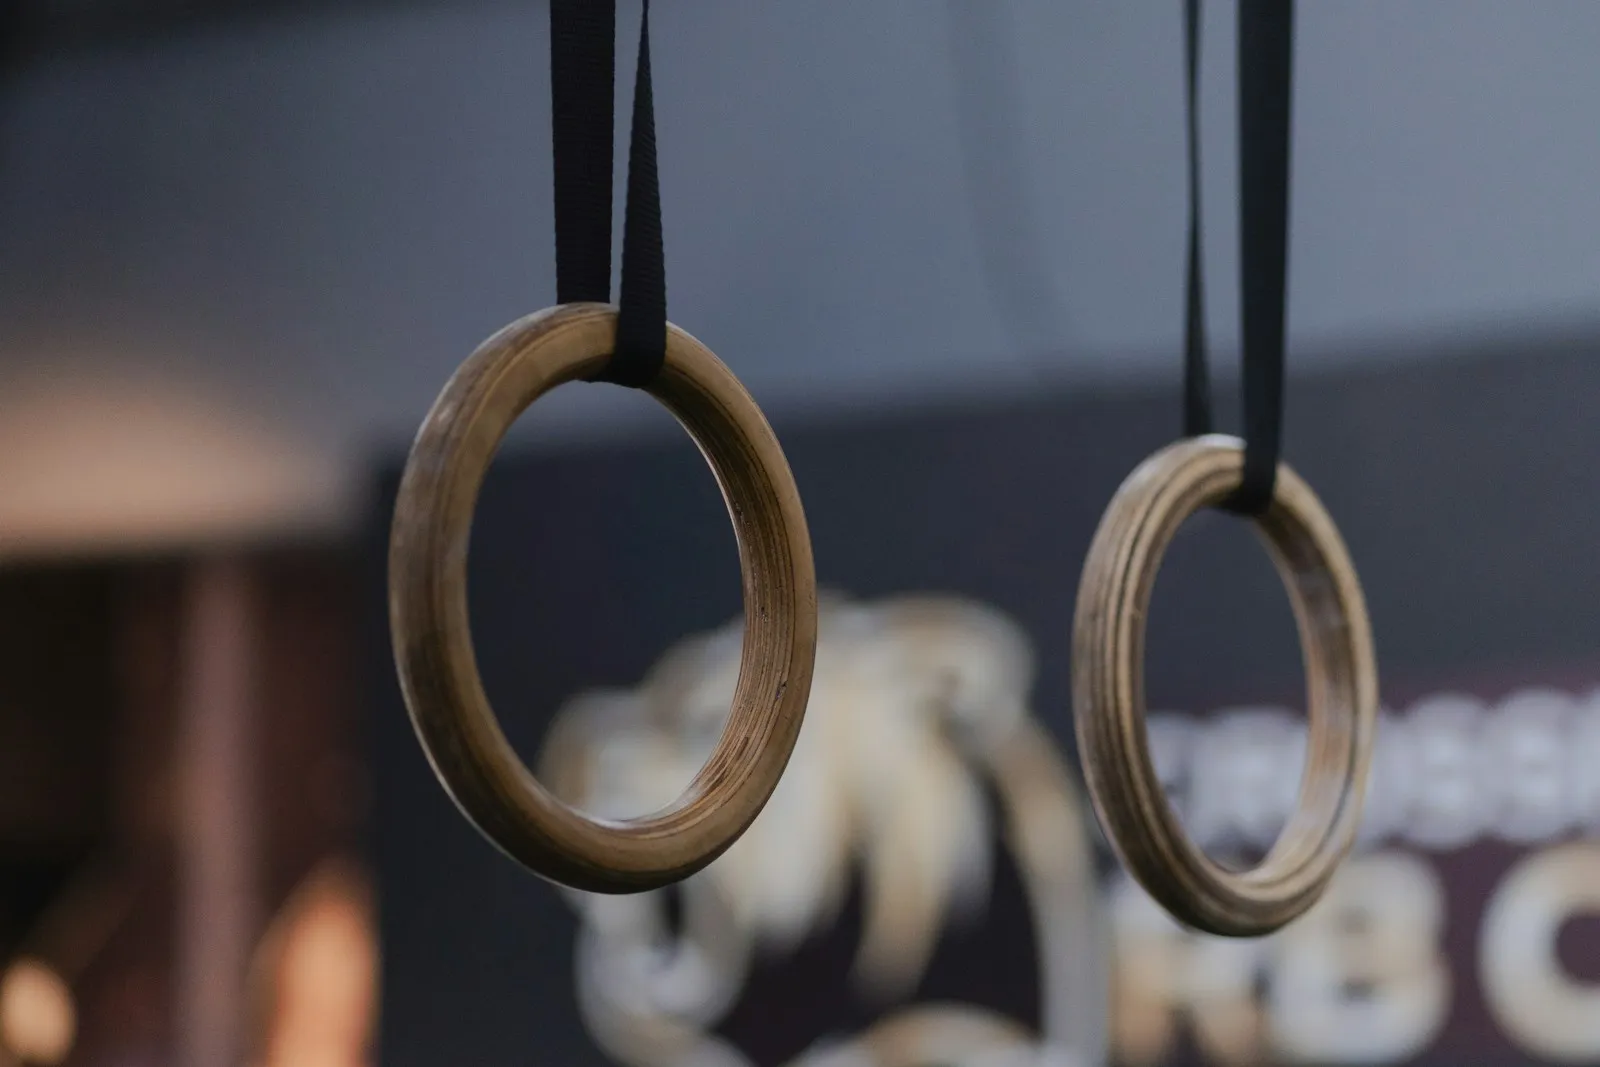
What calisthenics equipment you actually need: which pull-up bar to choose, rings, resistance bands, parallettes, dip bars and weight vests, in the right order.
Calisthenics is supposed to be the cheap, minimal way to train, yet a search for “calisthenics equipment” turns up lists of 20 or 30 things to buy. You need far less than that. Most of what people buy and never use could be skipped, and the one item that really matters is often chosen badly.
The short answer: the only piece of calisthenics equipment that really matters is a pull-up bar, because the floor already gives you every pushing and leg exercise, but nothing at home replaces a solid place to hang and pull. Choose a wall- or ceiling-mounted bar if you can drill into solid structure, a doorway bar if you rent, or a park bar if you train outside. Then add, in this order and only when you need them: resistance bands (to assist pull-ups and dips), gymnastic rings (the most versatile item after the bar), parallettes or dip bars (for dips, L-sits and wrist-friendly push-ups) and finally a weight vest or dipping belt once bodyweight reps get too easy.
Below you’ll find what each item does, how to choose a pull-up bar for your home, what to look for in rings, bands and parallettes, three setups for different budgets and spaces, and the safety checks people skip. If you’d like a plan that adapts to whatever you end up owning, Titan Mode builds your calisthenics sessions around the equipment you have, even if that’s nothing at all.
Do you need equipment for calisthenics at all?
Not to start. Push-ups, squats, lunges, planks, pike push-ups and hollow holds need nothing but the floor, and our calisthenics workout at home with no equipment uses only a table, a door and a chair.
The gap is pulling. Your back and biceps need you to pull your body toward something, and at home that’s hard to do well for long. A sturdy table works for rows for a while; a towel in a door helps a bit. But to reach pull-ups, chin-ups and later the front lever or muscle-up, you need a bar or rings. That’s why the bar is the first purchase, and often the only necessary one.
There is a free alternative: outdoor calisthenics parks. Many towns have bars, parallel bars and monkey bars in parks or by sports grounds. If one is close and you’ll actually go, you can delay buying anything. Our street workout for beginners guide explains how to use one.
The order to buy calisthenics equipment
| Order | Item | What it unlocks | When to buy |
|---|---|---|---|
| 1 | Pull-up bar | Hangs, pull-ups, chin-ups, hanging leg raises, later muscle-ups and levers | From day one, unless you have a park nearby |
| 2 | Resistance bands | Assisted pull-ups and dips, harder push-ups, warm-ups | When you can’t yet do a full pull-up or dip |
| 3 | Gymnastic rings | Rows, ring dips, ring push-ups, curls, triceps extensions, muscle-ups | Once you train regularly; they hang from your bar |
| 4 | Parallettes or dip bars | Dips, L-sits, deficit push-ups, handstand and planche work | When dips and floor skills become a priority |
| 5 | Weight vest or dipping belt | Weighted pull-ups, dips, push-ups and squats | When you pass 12 to 15 strict pull-ups or 15 to 20 dips |
| Optional | Mat, chalk, wrist wraps | Comfort and grip | Any time, cheap |
This order follows how most people progress. You’ll use the bar every session for years; the vest only matters once you’re fairly strong.
How to choose a pull-up bar for your home
The main types
- Doorway bar that hooks over the frame (leverage bar). No drilling: it rests on the top of the door frame and pushes against the wall. Easy to remove and cheap. Downsides: the bar sits close to the wall, so your knees and face are near the frame, kipping and swinging are off-limits, and it can mark the frame. Check that your frame is a standard, solid one and that the trim on top can take the pressure.
- Telescopic bar that twists inside the door frame. Also no drilling, but it holds only by friction and pressure against the frame. It can slip if not tightened properly and the frame isn’t perfectly solid, so it’s the option to be most careful with. Re-check the tightness before each session.
- Wall-mounted bar. Bolted into masonry or a stud wall’s structure. Stable, sits far enough from the wall for full range, and handles more dynamic training. Needs drilling and the right anchors for your wall type; a plasterboard-only wall is not enough.
- Ceiling-mounted bar. Bolted into joists or a concrete ceiling. Gives the most space around you and is the best base for hanging rings. Needs enough ceiling height for your arms extended overhead plus your body.
- Freestanding power tower. A frame with a pull-up bar, dip handles and often a back pad. No drilling, includes dips. Downsides: takes floor space and some models wobble during pull-ups, especially for taller or heavier users. Look at the base width and the maximum user weight.
- Outdoor bar or park. A bar fixed between two posts in a garden, or the bars of a public park, gives the most freedom for skills like the muscle-up.
What to check before buying
- Maximum user weight. Check what the manufacturer states, and leave a margin above your bodyweight: dynamic moves (kipping, muscle-ups, dropping into a hang) load the bar more than standing still.
- Clearance. You need to hang with straight arms without your feet touching the floor, ideally with bent knees. For leg raises and toes-to-bar, you need clearance in front of you too.
- Distance from the wall. The farther the bar sits from the wall, the less you’ll bump your knees, and the more exercises you can do.
- Grip. A smooth, round bar of a normal hand-filling thickness is easiest to hold. Foam grips can feel comfortable but often rotate or tear; knurled steel or a thin coating is more durable. Thick bars train grip but make pull-ups harder.
- Grip options. Bars with angled or neutral (parallel) handles add variety, and the neutral grip is often more comfortable for elbows and shoulders. Our chin-up vs pull-up article explains what each grip changes.
Whatever you choose, it’s the base of your pulling progress. Our guide on how to do your first pull-up takes you from the first hang to 10 reps on it.
Resistance bands: the cheapest upgrade
Loop resistance bands (long, flat, closed loops) are what most people use in calisthenics. Training with elastic resistance produced strength gains similar to training with conventional weights in a meta-analysis (Lopes et al., 2019), and push-ups made harder with bands produced strength gains similar to the bench press in another study (Calatayud et al., 2015).
What they’re good for:
- Assisted pull-ups and dips. Loop the band over the bar and put a knee or foot in it.
- Assisted muscle-ups and front lever work later on.
- Harder push-ups, with the band across your back and held under the hands.
- Warm-ups for shoulders and hips.
How to choose: bands are sold by resistance, but colors and labels differ between brands, so read the stated resistance range rather than the color. A set of three or four different strengths lets you reduce assistance gradually. The main limit: a band helps most at the bottom of a pull-up, where it’s most stretched, and least at the top, where many people are weakest. Mix band work with negatives and inverted rows so you build strength across the whole range.
Check bands for nicks or thinning before each use, and replace them if you see any: a band snapping near your face is the main risk.
Gymnastic rings: the most versatile item after the bar
Rings let you do rows, push-ups, dips, curls, triceps extensions (see our calisthenics arm workout), L-sits, muscle-ups and levers (the back lever is traditionally learned on rings), all with one piece of kit you can hang from your pull-up bar, a beam, a tree or a park bar.
Why they’re worth it:
- Freedom of movement. The rings rotate, so your wrists and elbows follow their natural path. Many people find ring dips and ring rows more comfortable on their joints than fixed bars.
- Instability. Push-ups on suspension systems produced higher muscle activation than standard push-ups in a study comparing several devices (Calatayud et al., 2014). That makes ring exercises a way to get more out of the same bodyweight.
- Adjustable height. Lower the rings for rows and push-ups, raise them for dips and pull-ups.
What to look for:
- Wood or plastic. Wooden rings feel better when your hands are sweaty; plastic rings are tougher outdoors in the rain. Both work.
- Straps. Long straps with secure cam buckles. Numbered straps make it much easier to set both rings at the same height every time.
- Mounting. Over a pull-up bar, a solid beam or a strong branch. Never over anything that can move or bend.
Rings are less beginner-friendly for dips: they demand stability. Build bar dips first with our dips progression, then move to rings.
Parallettes and dip bars
Parallettes are short handles a few centimeters to about 30 cm off the floor.
- They keep your wrists straight during push-ups and handstand work, which many people find more comfortable.
- They give your legs room to stay straight in an L-sit and are the standard tool for planche work.
- They allow deeper (deficit) push-ups.
Low parallettes are compact and stable; taller ones also let you do dips with your feet tucked, but they’re less stable. Wood is pleasant to hold; metal is sturdier. Push-up handles are a cheaper option for push-ups, but they’re too short for L-sits.
Dip bars (or a dip station) give you full-range dips, L-sits, knee raises and support holds. If you have a park nearby, its parallel bars do the same job. At home, a power tower often includes dip handles.
Weight vests, dipping belts and backpacks
Once you can do around 12 to 15 strict pull-ups and 15 to 20 dips, adding weight is the simplest way to keep building strength in a lower rep range. Our guide to weighted pull-ups goes into when to start and how much to add.
- Backpack: free, and fine for push-ups, dips and squats. Uncomfortable above a moderate load for pull-ups.
- Weight vest: keeps the load close to your body, so it’s comfortable for pull-ups, push-ups, dips and walks. Adjustable vests let you add small increments. Bulky vests can get in the way of muscle-ups.
- Dipping belt: a belt with a chain to hang plates or a kettlebell between your legs. The most efficient way to load pull-ups and dips heavily, but you need weights to hang from it.
Increase load in small steps: the American College of Sports Medicine recommends gradual increases once you can comfortably exceed your target reps.
Small extras that are worth it (and some that aren’t)
Worth it:
- A mat for floor work and core exercises.
- Chalk (liquid or block) if sweaty hands limit your hangs. If it’s strength rather than sweat that fails, our grip strength exercises help.
- Wrist wraps if you do lots of handstands or planche leans and your wrists need support.
Usually not worth it at the start:
- Ab wheels, push-up boards with colored holes, grip trainers and “all-in-one” gadgets. Floor exercises already cover these.
- Gloves. They make the bar thicker and slippery. Chalk and a good grip do the job; calluses are normal, just file them down if they get thick.
- An expensive power tower before you know you’ll keep training. Start with a bar.
Three setups for different spaces and budgets
1. Minimal (small flat, renting): a doorway bar, a set of loop bands, a mat. You can train the whole body with this, from your first pull-up to solid strength.
2. Complete home setup: a wall- or ceiling-mounted bar, wooden rings hanging from it, bands, low parallettes and a mat. This covers almost every calisthenics skill except the human flag.
3. Outdoor first: use a park for the bar and dips, and keep rings and bands in a bag to add rows, ring dips and assistance. At home, parallettes for push-ups and L-sits. This is the cheapest setup and often the most fun.
Whatever your setup, it only pays off if the training is consistent. Titan Mode asks what equipment you have and builds your week around it, with guided sessions, sets, reps and rest times, and you can swap an exercise when you don’t have the gear it needs.
Safety checks people skip
- Installation: follow the manufacturer’s instructions and use anchors that match your wall or ceiling. If in doubt, ask someone qualified to fix it into the structure.
- Test before you train: hang gently with your feet still able to touch the floor, then bounce lightly, before you trust the bar with full sets.
- Door bars: check the frame each session for cracks or movement, and never kip or swing on them.
- Rings and straps: inspect straps and buckles regularly for fraying, and anything they hang from.
- Bands: replace them at the first sign of damage.
- Load gradually: new equipment often means new exercises. Start with a few sets and let your elbows and shoulders adapt.
Common mistakes when buying calisthenics equipment
- Buying everything at once. Most people end up using the bar and maybe the bands. Buy the next item when your training actually needs it.
- Choosing the cheapest bar for the wrong door. A bar that doesn’t fit your frame, or a frame that can’t take the load, is both unsafe and frustrating.
- Reading band colors instead of resistance values. One brand’s “heavy” is another’s “medium”.
- Buying rings with short or unmarked straps. Setting them level every time becomes a chore.
- Skipping the plan. Equipment doesn’t make you stronger on its own; a progression does. Our beginner calisthenics program shows how to use a bar and the floor for the first 12 weeks.
Putting it into practice
Start with a pull-up bar (or a nearby park), train with it for a few weeks, and only then add bands, rings, parallettes and weight, in that order, as your training asks for them. Choose stable mounting over convenience, check your gear regularly, and spend your energy on the progression rather than the shopping list. If you’d like your sessions planned around exactly what you own, download Titan Mode and tell it what equipment you have.
This article is general information, not medical advice. If you have a medical condition, an injury, pain or are pregnant, talk to a health professional before changing your training or diet.
FAQ
What calisthenics equipment do I need as a beginner?
A pull-up bar is the one piece of equipment that matters. With a bar and the floor you can train every major muscle group. A set of resistance bands is a useful, cheap second purchase for assisted pull-ups and dips. Rings, parallettes and a weight vest can wait until you know you'll keep training.
Which pull-up bar is best for home?
It depends on your space. A wall- or ceiling-mounted bar is the most stable and gives the most room for every exercise, but needs drilling into solid structure. A doorway bar that hooks over the frame is the easiest option for renters but limits leg room and dynamic moves. A freestanding power tower adds dip handles but takes floor space and must be stable for your weight.
Are gymnastic rings better than a pull-up bar?
Rings are more versatile (rows, dips, push-ups, curls, muscle-ups) and gentler on wrists and elbows because the hands can rotate. A fixed bar is easier for beginners, simpler for counting progress on pull-ups, and better for bar skills such as the bar muscle-up. Many people start with a bar and add rings later, hanging them from the bar itself.
Do resistance bands work for calisthenics?
Yes. A meta-analysis found that training with elastic resistance produced strength gains similar to training with conventional weights. In calisthenics, bands are mostly used to assist pull-ups, dips and muscle-ups and to add resistance to push-ups. Their limit is that the assistance is greatest at the bottom of a pull-up and smallest at the top.
Do I need parallettes?
No, but they help. They keep the wrists straighter during push-ups and handstand work, give room for the legs in L-sits, and make deficit push-ups possible. Two stable chairs, books or push-up handles can replace them at the start.
When should I buy a weight vest?
When you can do roughly 12 to 15 strict pull-ups and 15 to 20 dips, and you want to keep building strength in a low rep range. Before that, harder bodyweight variations do the job. A backpack loaded with books is a free way to test weighted training first.
Sources
- Lopes J.S.S. et al. (2019). Effects of training with elastic resistance versus conventional resistance on muscular strength: a systematic review and meta-analysis. SAGE Open Med.
- Calatayud J. et al. (2015). Bench press and push-up at comparable levels of muscle activity results in similar strength gains. J Strength Cond Res.
- Calatayud J. et al. (2014). Muscle activation during push-ups with different suspension training systems. J Sports Sci Med.
- American College of Sports Medicine (2009). Position stand: progression models in resistance training for healthy adults. Med Sci Sports Exerc.