Calisthenics Workout at Home: No Bar, No Equipment
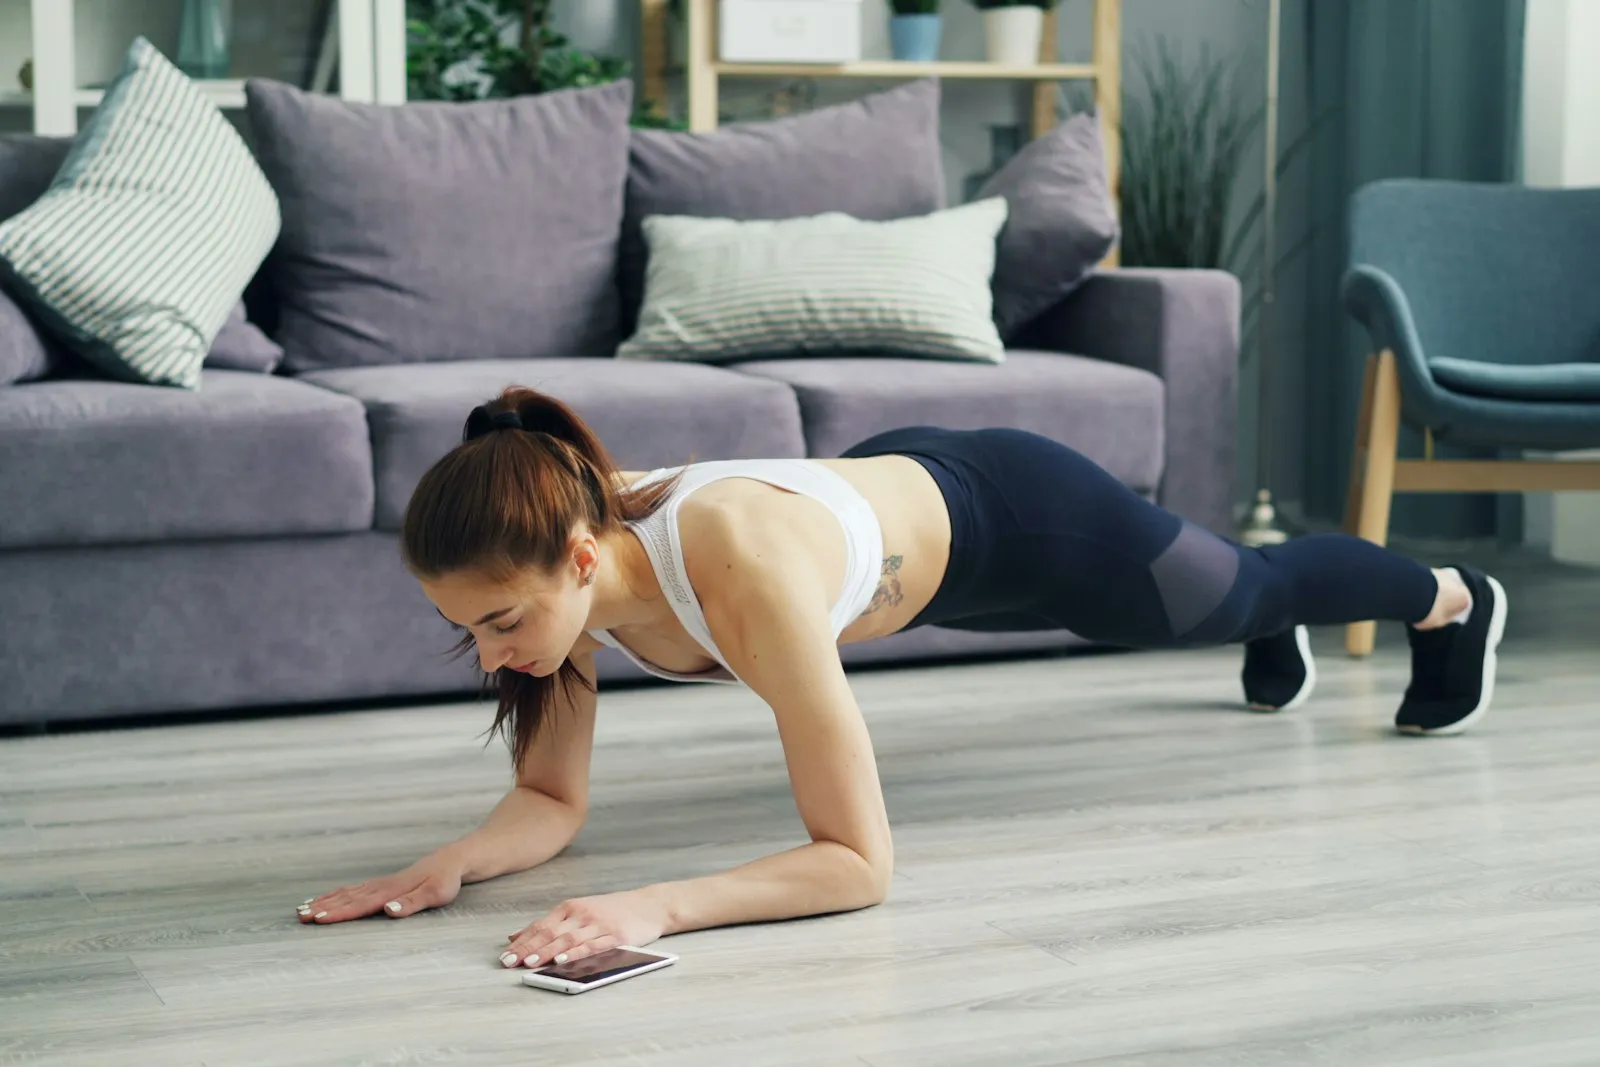
A full-body calisthenics workout at home with no bar and no equipment, just a table, a door and a chair: sessions by level, back training and how to progress.
No gym, no pull-up bar, no rings, just a bit of floor space and the furniture you already own. Good news: that’s enough to start building real strength and muscle. A calisthenics workout at home with no equipment works as long as you respect the same rules as any serious training: hard sets, the right exercises, and a way to make things harder every week.
This guide is for the home with no bar at all. It shows you how a table, a door, a chair and a backpack replace the gear, gives you sample sessions for three levels, and covers the tricks to keep progressing when you can’t add weight.
Why a no-equipment workout can actually work
Your muscles respond to effort, not to the price of the equipment. A meta-analysis comparing light and heavy loads found similar muscle growth across the spectrum, as long as the sets were taken to failure (Schoenfeld et al., 2017). Heavy loads still won for maximal strength, but for building muscle, a push-up taken close to failure does its job as long as it’s genuinely hard for you.
The real challenge at home isn’t starting. It’s progressing. Once 20 squats feel easy, doing 21 doesn’t change much. That’s why the rest of this guide focuses on variations and progression levers rather than on long lists of exercises.
What your home can replace
Before you buy anything, look around. Most gym tools have a household stand-in:
| You don’t have | Use instead | For |
|---|---|---|
| Pull-up bar or low bar | A sturdy table, a towel on a closed door | Inverted rows, towel rows |
| Dip bars | Two stable chairs, or a chair against a wall | Bench dips, assisted dips |
| Weight bench | A sofa or a bed edge | Hip thrusts, Bulgarian split squats |
| Step or box | The bottom stair, a solid chair | Step-ups, decline push-ups |
| Dumbbells | A backpack filled with books or water bottles | Split squats, rows, glute bridges |
| Parallettes | Two stacks of thick books | Deeper push-ups |
The full-body routine: one exercise per movement pattern
A complete session covers the main ways your body moves. At home, it looks like this:
| Pattern | Easier | Standard | Harder |
|---|---|---|---|
| Push (horizontal) | Incline push-up on a table | Push-up | Decline or archer push-up |
| Push (vertical) | Pike push-up, hands far from feet | Pike push-up, feet closer | Elevated pike push-up (feet on a chair) |
| Pull | Towel row on a door | Table inverted row, knees bent | Table inverted row, legs straight |
| Squat | Squat to a chair | Bodyweight squat, slow tempo | Bulgarian split squat, then shrimp squat |
| Hinge | Glute bridge | Single-leg glute bridge | Single-leg hip thrust, shoulders on the sofa |
| Core | Front plank | Hollow body hold | Hollow body rocks, L-sit attempts between two chairs |
Pick the hardest variation where you can do at least 6 to 8 clean reps (or 20 to 30 seconds for holds). For pushing, our push-up progression breaks the ladder into nine steps, from the wall to the one-arm push-up, and our calisthenics chest workout includes a full no-equipment chest routine with chair dips and deficit push-ups. Elevated pike push-ups are also the first strength step toward the handstand for beginners, which needs nothing more than a clear wall.
Using furniture safely
The household items that unlock the most exercises are also the ones that can go wrong. Check before each session:
- Table for rows: it must be solid, heavy and not tip over when you pull on the edge. Lie underneath, grab the edge, and pull your chest toward it. Test with a few gentle pulls before going all in. Avoid glass tops, folding tables and light desks.
- Towel on a door: loop a strong towel around both handles of a closed door, on the side where the door closes into the frame (you pull it shut, not open). Lean back and row. Lock the door if possible so no one opens it mid-set.
- Chair for dips or split squats: use a stable chair without wheels, ideally pushed against a wall. For dips, keep your shoulders below discomfort: if the front of your shoulder pinches, reduce the depth.
- Floor: a mat or rug protects your knees and wrists. Socks on a hard floor slip, so train barefoot or in shoes.
Sample sessions by level
Do three sessions a week on non-consecutive days (for example Monday, Wednesday, Friday). That covers, with room to spare, the WHO recommendation of muscle-strengthening work for all major muscle groups on at least two days a week (WHO, 2020). Warm up for 5 to 8 minutes first: arm circles, hip circles, a few easy squats, cat-cow and wrist rolls.
Level 1: starting from zero (about 30 minutes)
| Exercise | Sets × reps | Rest |
|---|---|---|
| Incline push-up on a table | 3 × 8–12 | 90 s |
| Towel row on a door | 3 × 8–12 | 90 s |
| Squat to a chair | 3 × 10–15 | 90 s |
| Glute bridge | 3 × 12–15 | 60 s |
| Front plank | 3 × 20–30 s | 60 s |
Level 2: a few months of training (about 40 minutes)
| Exercise | Sets × reps | Rest |
|---|---|---|
| Push-up | 3 × 8–15 | 90 s |
| Table inverted row, knees bent | 3 × 8–12 | 90 s |
| Pike push-up | 3 × 6–10 | 90 s |
| Bulgarian split squat (rear foot on a chair) | 3 × 8–12 per leg | 90 s |
| Single-leg glute bridge | 3 × 10–12 per leg | 60 s |
| Hollow body hold | 3 × 20–30 s | 60 s |
Level 3: solid foundations (about 45 minutes)
| Exercise | Sets × reps | Rest |
|---|---|---|
| Archer or decline push-up | 4 × 6–10 | 2 min |
| Table inverted row, legs straight, 2 s pause at the top | 4 × 6–10 | 2 min |
| Elevated pike push-up | 3 × 6–10 | 2 min |
| Shrimp squat or slow Bulgarian split squat | 3 × 6–10 per leg | 90 s |
| Single-leg hip thrust | 3 × 10–12 per leg | 60 s |
| Hollow body rocks | 3 × 10–15 | 60 s |
Keep one or two reps “in the tank” on most sets, and push the last set a bit closer to failure. Form first: a sloppy rep doesn’t count.
These sessions are snapshots, not a schedule. If you want the same movements laid out week by week over three months, with a bar added when you get one, follow our 12-week calisthenics program for beginners.
How to progress without adding weight
When you can’t add plates, you change the difficulty another way. Here are the levers, roughly from easiest to use to most demanding:
- More reps within the target range. When you hit the top of the range on every set, move to the next lever.
- Slower tempo: take 3 to 4 seconds to lower. A slow squat is a very different exercise from a fast one.
- Pauses: hold 2 seconds at the hardest point (chest near the floor, bottom of the squat, chest at the table).
- Range of motion: hands on books for deeper push-ups, front foot on a step for a deeper split squat.
- Leverage: straighter legs on rows, feet higher on pike push-ups, hands closer together on push-ups.
- One side at a time: split squats, then shrimp squats; single-leg bridges; archer push-ups as a step toward one-arm work.
A simple rule: change only one thing at a time, and write down what you did. Without a log, you’ll repeat the same session for months without noticing.
The two weak spots: back and legs
Back
Pulling is the hardest pattern to train with no equipment, and skipping it leads to an imbalanced upper body. Prioritize table rows and towel rows, and complete them with floor work: prone Y-T-W raises and reverse snow angels at the end of the session. If you eventually want to work on your first pull-up, a doorframe bar is the first purchase worth making: table rows build the base, but hangs and negatives need a bar. For complete back routines by level, with and without a bar, see our calisthenics back workout.
Legs
Bodyweight squats become easy fast. Move to single-leg work early: Bulgarian split squats, step-ups on a sturdy chair, then shrimp squats and assisted pistol squats (holding a doorframe). A backpack filled with books can also add load to split squats when you run out of variations. For hamstrings, calves and complete leg routines by level, see our calisthenics leg workout.
Training in a small space or an apartment
- Space: two square meters of floor is enough for every exercise above.
- Noise: skip jumps or replace them with slow tempos and pauses, which are just as hard and silent. For a quiet cardio finisher, step-back burpees without the jump or slow mountain climbers work well.
- Time: if a full session doesn’t fit, split it. Push and pull in the morning, legs and core in the evening still counts.
- Consistency: leave your mat out. The less setup, the more often you’ll train.
The day you get access to an outdoor bar park, everything you built here carries over directly: table rows become low-bar inverted rows, and chair dips become dips on parallel bars.
If your main goal is fat loss, these sessions are a strong base, but the result depends more on your diet and daily steps than on the workout itself. Our guide to calisthenics for weight loss explains how to put the three together.
Where home training goes wrong
- Doing endless reps: sets of 50 squats train endurance more than strength. Switch to a harder variation instead.
- Forgetting to pull: push-ups every day and no rows is the most common home-training imbalance.
- Random sessions: a different video workout every day feels productive but makes progress hard to track.
- Trusting wobbly furniture: one tipped table costs more than any missed session. Test before each set.
- Skipping the warm-up: a few minutes protect your wrists and shoulders, especially on push-ups and pike push-ups.
Start this week
Pick your level, check your table and your door, and do your first session. Write down every set. Next week, beat one number. That’s the whole method.
Your equipment list will change over time: a bar one day, bands later, maybe rings. Our calisthenics equipment guide explains what to buy first and how to choose it. Titan Mode is designed to start from what you actually have, even if that’s just the floor and a table, and to rework your sessions when you add something new.
This article is general information, not medical advice. If you have a medical condition, an injury, pain or are pregnant, talk to a health professional before changing your training or diet.
FAQ
Can you build muscle at home with no equipment?
Yes. Muscles respond to hard sets taken close to failure, not to the equipment used. At home, you progress by moving to harder variations, slowing the tempo, adding pauses and working one side at a time. Legs and back are the trickiest, which is why the variations matter.
How do I train my back without a pull-up bar?
Use a sturdy table for inverted rows, a towel looped around a closed door's handles for towel rows, and floor exercises like prone Y-T-W raises and reverse snow angels. Always test the setup before putting your full weight on it.
What's the first piece of equipment worth buying?
A doorframe pull-up bar, if your door frames allow one. It unlocks hangs, negatives and eventually pull-ups, which no piece of furniture can fully replace. Resistance bands come second: cheap, small, and useful for both assistance and extra resistance.